

SKU: PR000053001
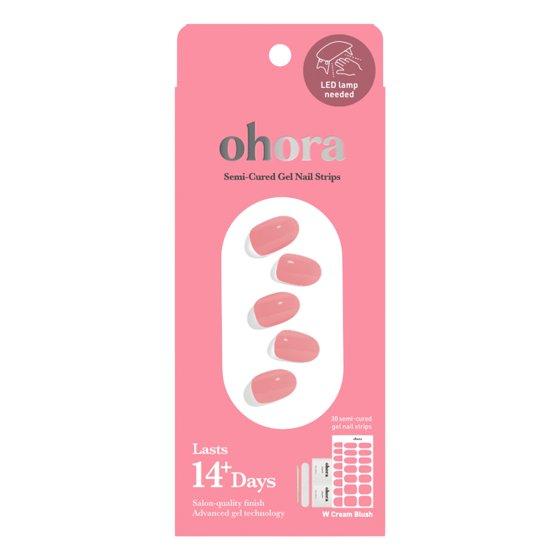
Ohora Semi-Cured Gel Nail Kit, Cream Blush, 30 Count
-
Available in Stock
$12.96
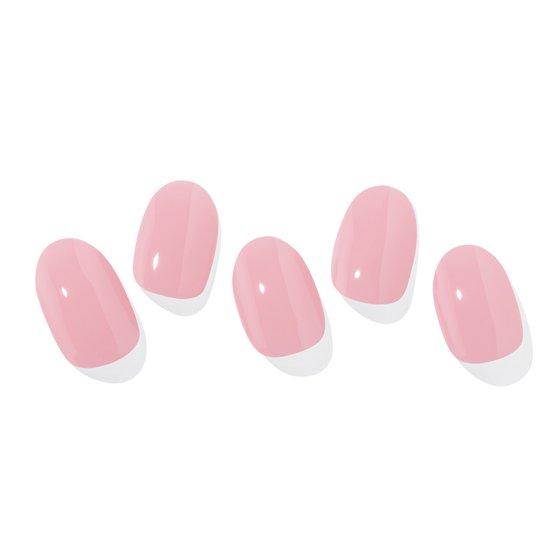
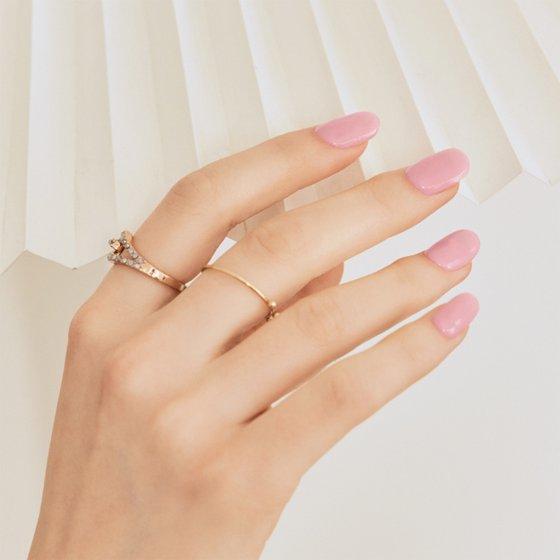
Ohora's Semi-Cured Gel Nail Strips in Cream Blush is an elegant gel manicure in tune with contemporary Korean aesthetics. These nail strips are easy-to-apply and deliver quick, long-lasting results and wear for up to 14 days. Ohora nail strips are made of semi-cured gel, which is only 60% pre-hardened. This makes the soft, stretchy, and easily configurable to your exact nail shape.
- DURABLE - Extra strong, patented adhesive formula
- EXTRA GLOSSY & FULLER VOLUME - 5 layer gel technology with different molecular composition and purpose
- SMOOTH & SNAG FREE - Patented technology that creates a smooth gliding angle at edge
Nails shape
Natural
Color
Cream
Brand
ohora
False nail type
Press-On Nails
Pieces
30
Material
Gel
Pattern
Nail Art
Size descriptor
Regular
Retail packaging
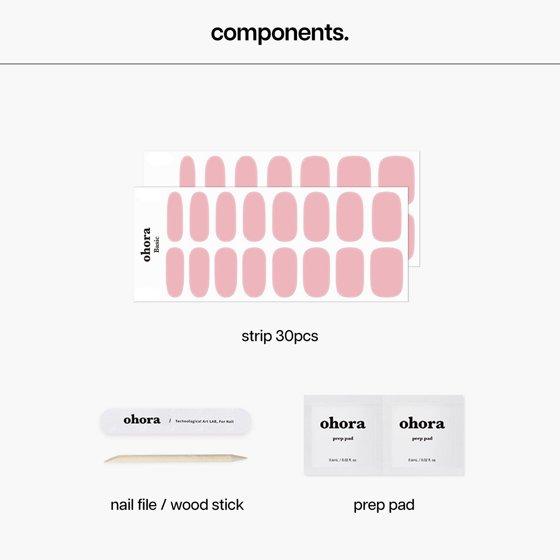
Kit
Instructions
STEP 1: REMOVE OIL AND MOISTURE - Wash and dry your hands thoroughly before application. Use the prep pad to wipe away oil, water, and any other moisture. Sweat, oils, creams and any other moisture present on your natural nails will reduce nail strip adhesion. STEP 2: APPLY NAIL STRIPS - Select the strip that best fits the size of your nail and peel off the transparent film sheet. Check markings on sheet to confirm which sides of the strip should be facing the cuticle and free edge. Apply strip to nail, leaving a slight space between the strip and cuticle. Press and smooth the strip firmly onto nail, applying extra pressure to the area along the free edge to secure. This will help prevent any snagging and extend the life of your manicure or pedicure. STEP 3: TRIM NAIL STRIPS - Use the enclosed file to file away any excess or leftover strip. Be sure to file in one direction to minimize damage. You can also remove excess strip with nail clippers or nail scissors. Use enclosed wooden nail stick to smooth strip along edges and sides of nail once more before curing. STEP 4: CURE NAIL STRIPS - Cure strips 1-3 times under the Ohora Gel Lamp. Curing time will vary with each design. Designs with thicker gel, ail gems, or nail decals will require longer curing time. Check to see if your strips have cured completely. Completely cured gel will have hardened and sealed in place to the nail. Complete curing will boost the gloss and durability of the strips. Use the enclosed file again to smooth edge and finish your nails.
Warning Text
Stop use if irritation occurs.
Related Products
")


Linked Copied Successfully!